Posts mit dem Label Photography werden angezeigt. Alle Posts anzeigen

12. Oktober 2016

Hallo, Kleine...

Wer mir auf Facebook oder Instagram folgt, der hat es sicher schon mitbekommen. Dass ich schwanger war, sowieso. Dass sich die junge Dame reichlich Zeit gelassen hat, vermutlich auch. Und vielleicht auch, dass sie sich dann, 10 Tage über dem Termin, den Geburtstag ihres Papas für ihren großen Auftritt ausgewählt hat.

Am 4.10. kam unsere kleine Ellinor Wilhelmine Hanna auf die Welt und hat diese gleich mal ordentlich umgekrempelt. Sie hält uns ordentlich auf Trapp, aber gleichzeitig ist es viel ruhiger geworden im Hause "Curious & Catcat". Dieses Babyding läuft unerwartet entspannt und wir genießen jede Sekunde. Okay, außer der einen bestimmten Sekunde, in der das Baby von zufrieden und entspannt auf Alarm und Krawall umschaltet. Das mit dem Überraschungseffekt, das hat sie drauf. Aber genauso plötzlich schaltet sie auch wieder zurück, wenn Milch in Reichweite ist. Hach, wir lieben sie einfach.

Das zuckersüße Foto oben ist übrigens nicht bei einem Neugeborenenshooting mit professionellem Fotografen entstanden, sondern bei uns im Wohnzimmer ohne großes Fotostudioequipment und sonstigem Schnickschnack. Nur das Baby, ich und meine uralte Canon. Ich hätte nicht gedacht, dass das so einfach ist - hätte ich vermutlich auch nie ausprobiert, wenn nicht die liebe Cousine des Liebsten uns einen riesigen Karton voll Decken, Körben, Haarbändern, Mützchen und allerlei anderen Accessoires aus ihrem Fotostudio mit der Post geschickt hätte. Danke nochmal, liebe Conny, ohne dich gäbe es diese Fotos nicht!

10. Januar 2015

Embroidered photos | DIY

My favorite ways to preserve memories is through pictures. I love looking through old black and white photos of my (early) childhood and even when I can't remember the actual event in the picture, they mean the world to me.
I found this picture of my mother and younger brother at the baltic sea, in front of them a somewhat shapeless heap of sand that I think was supposed to be a pretty sand castle. Oh too sad! But why not add a little fun and pops of color to the photo and 'build' one for them ... with thread!?
This is a fun craft that combines photography and embroidery. How cool is that? I can remember I did this kind of photo-embroidery-thingy when I was a kid so it's also a craft revival. Yay!
Don't fear, you don't need any embroidery skills for this.

Step 1: Find a photo that you want to embellish and print it out. In order to prevent the paper from ripping at the places where I would have to push the needle plus thread through, I printed on 300g/m³ paper (this) and it worked really really well.

Step 2: Draw your design onto the photo. Using similar colors to the thread colors you want to use makes the lines practically invisible. I added boats, a fish, a bucket and a sand castle to the picture.
Step 3: Another precaution to keep the paper from ripping (and to make your work a lot easier) is to punch all the holes before stitching. I used a simple pin to push a hole in every corner and crossing on my designs.

Step 4: Now chose your thread colors and start stitching. Trace all the lines. You can also retrace lines in the photo or fill an area by stitching many lines next to each other.

And there it is - a very personal and colorful work of art! These make great gifts for your loved ones, too! I made this embroidered photograph the week before Christmas in order to give it to my mother but decided against it last minute (too many photo-related gifts in the past and they have only so much room in their house). Now its hanging in our work space and looks so cute that I'm thinking about making some more to keep it company and look extra cute together.

There are very cool versions of embroidery on photographs on the internet, too. Have a look at these awesome projects/artworks:

28. Oktober 2014

Under the sea (we got no troubles life is the bubbles)

Finally - FINALLY! - I managed to finish the roll and get it developed! This is definitely the last post about our trip to France. I promise. But one of the best things to bring to our trip to France was definitely the disposable underwater camera! The French riviera probably the best place to bring an underwater camera anyway. Taking those pictures was so much fun and seeing the developed photos even more. They came out great! Some of them are blurry or dull, but that's the risk and the fun with disposable cameras - you can't delete and you never know what you get!
Here are my favorites:

5. Juli 2014

Golden Hour Gardening

We ran a little late with our weekly visit to the garden and were lucky to take a few pictures in the golden hour. The green stuff in my hands is our last harvest of arugula. I'm not very sorry about that, though. We're harvesting so much at the moment, we had to get a new freezer to be able to store it all and I've been really working on my housewife qualities spending my free time preserving stuff and making jams. I have to admit it feels great to see the shelves filling with preserved food.

5. August 2013

DIY Camera Strap

For our trip to Italy I succeeded in borrowing my Dad's DSLR camera. I can tell you it wasn't easy - he guards it like a treasure although he rarely uses it - but I had the advantage of being his only daughter. It's hard to deny me something... at least I hope so. I love this camera so much that I'm secretly forging out plans how to keep it forever.
So now I had a camera with a not so nice camera strap and a not so nice camera bag. I can't do much about the bag in this short time, but there had to be a new strap! I made a quick search through my supplies, and here's what I came up with!
[1] Supplies: Some sturdy fabric that you like. Another piece of sturdy fabric or old fabric suspenders you never used. 2 small key rings (try them out before you sew them in!). Scissors. Sewing machine. Iron. Pen. Pins.

[2] From the first fabric cut a piece of ca. 6cm x 100cm (2.2'' x 40''). Fold right sides together and sew it close.
[3] Iron flat like shown in the picture.Turn the whole piece right sides out and iron once again.
[4]-[5] At the ends of the strap push the edges inside like you can see in the picture. Iron flat and sew the opening close.
[6] Sew along both edges of the strap to give it some definition and stability. I also think it looks better.
[7] Cut two 9cm (3.5'')pieces from the fabric suspenders or fold and sew close two 8cm x 9cm (3.1'' x 3.5'') pieces from a second fabric.
[8] Fold and mark the middle with a pen.
[9] At the mark, fold both edges into the middle and sew a short line over it.
[10] Put the key rings on!
[11] Fold the ends of the suspender pieces over and sew a short line over it to fixate it. Doesn't have to be perfect! Then fold the piece and place the long strap in between. Fixate with a pin or two.
[12] Sew the two fabric pieces together by sewing a box first and then sew the diagonals.

Voila! That's it! I'm very pleased with the result. I now have a strap that looks cute and will go well to my outfits. Perfect! And here's the before and after picture. The strap in the before picture actually looks much longer, but that's not true. Must be the perspective or something...
Say cheese!

4. November 2012

I love Autumn


Yes, I love autumn! I love all the beautiful colors and the clear and fresh air this season brings. And knitted socks! And hot chocolate! Books and cozy blankets! Bobble hats! What do you like about autumn?

I hope your weekend is a lovely one, above are some pictures of mine.

27. Oktober 2012

Blurry and dark


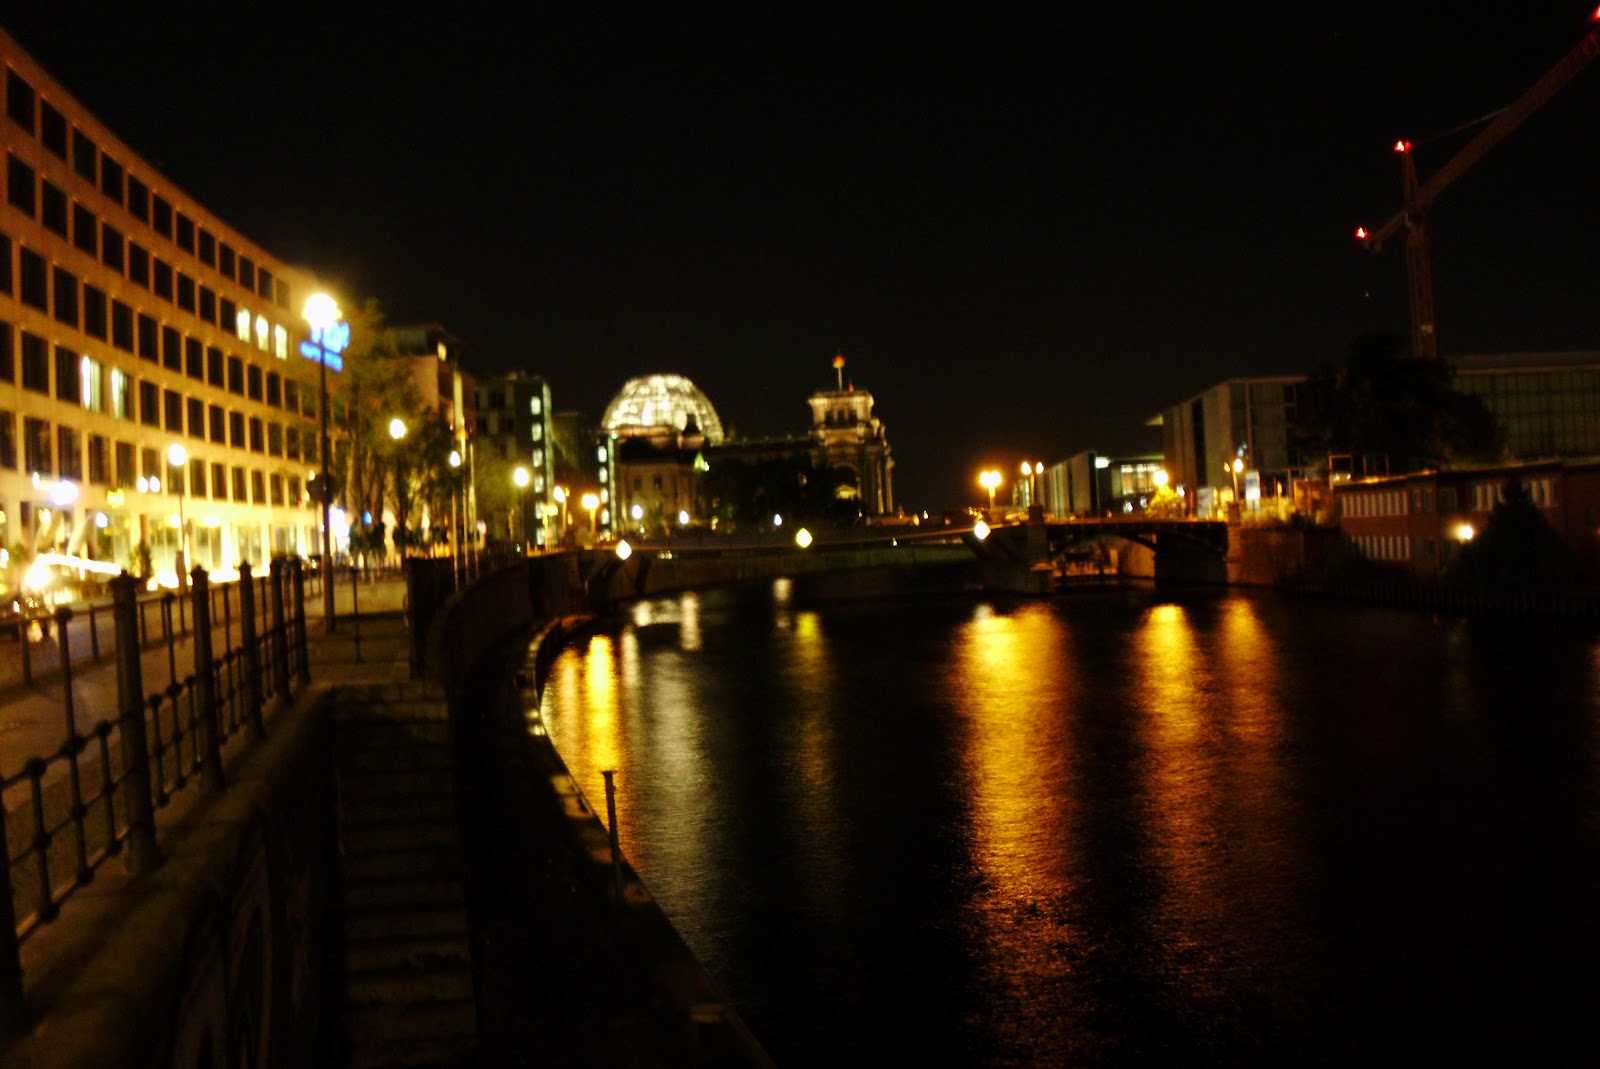
The boyfriend and I love night strolls in Berlin. It's quiet, chilly and the city lights are beautiful at night. Yesterday we headed for the new government district. We loved the clean and modern design of the place and enjoyed peeking through windows here and there (not that difficult when most of the new buildings have whole walls made of glass) and reading the basic laws for the Federal Republic of Germany. Written on glass. Yes. They really love glass there.
Here are some of the pictures I took with my old and one very cheap digital camera. As you can see, night photographs are not its area of expertise. Or maybe it's just not mine. If you have tips how to get good pictures at night with a really cheap digital camera, please enlighten me! I kind of like the atmosphere of those blurry pictures, but it can be frustrating if you really want to capture the details of some moment. Yesterday I didn't. Lucky me.
Related Posts Plugin for WordPress, Blogger...