Finally. Part two of the friendship bracelet series is here! This time I'll show you how to do a forward knot and how to make a chevron friendship bracelet using only forward and backward knots. Easy! And for those who are bored with that easy chevron pattern, I added instructions for turning the direction of the chevron pattern from upwards to downwards and back. With all these information you'll be able to make a chevron friendship bracelet just how you like it.
For the
backward knot and an even easier pattern for a friendship bracelet, check out
part 1 of the friendship bracelet series!
The Forward Knot
[1] You start with two strings next to each other. The right string
should be held tight all the time while you work with the other string
(the working string).
[2] Using the left string, form a loop over and around the right string. Pull the string through the loop from behind.
[3] Now hold the right string tight and pull the working string to the right. It is easier if you use your right hand for that. You now have
something that looks like a tiny knot, but that's only the half of it.
[4] Repeat steps 2 and 3. Afterwards, there's a knot in the color of the
string you worked with and the working string moved to the right.
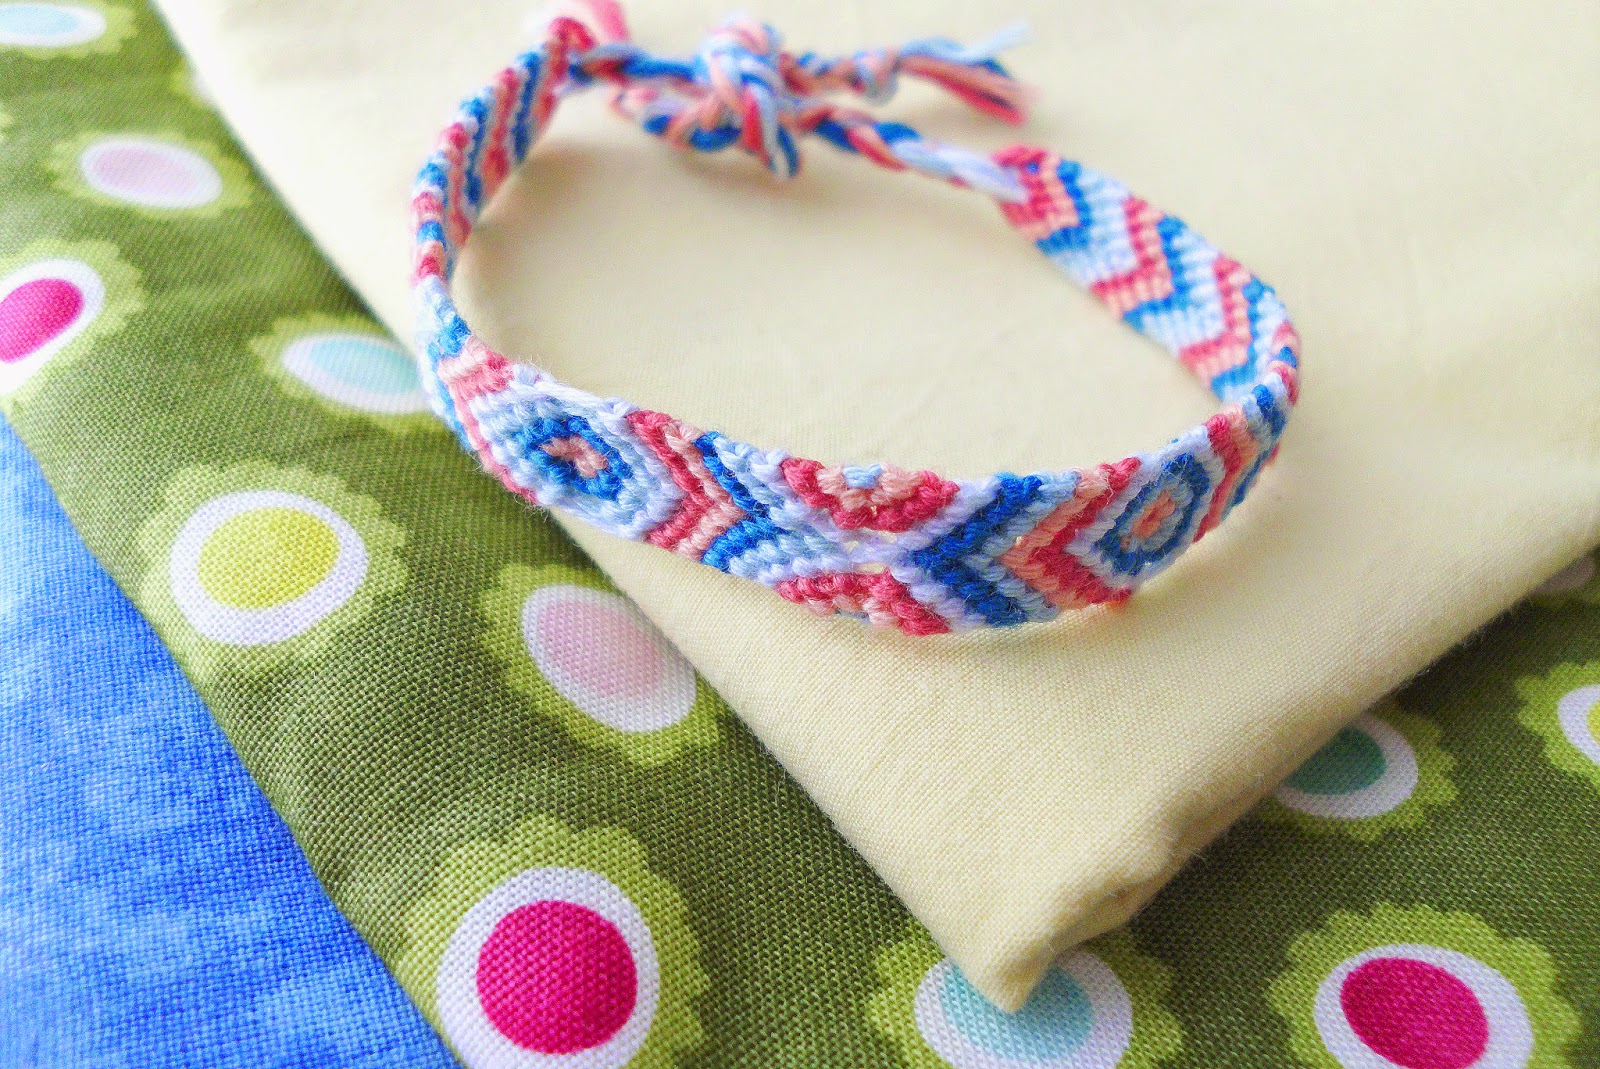
Striped Friendship Bracelet
Material: Embroidery thread in different colors (I recommend
this. Every color you can think of in one box!), Scissors.
Preparation:
Choose the colors you would like to have in your bracelet. For a symmetric chevron pattern his could be
up to 5 different colors, as you have to have 10 strings of embroidery
thread.
Then choose an ordering and place the threads next to each other like in the picture above. The color ordering is mirrored in the middle (1,2,3,4,5,5,4,3,2,1). The
colors will appear from outer to inner. When you have an ordering, tie a
knot at about 5 inches from the top. Tie the short end to a chair or a
table or to anything that will resist some pulling. Reorder the strings.
[1] Take the first two threads from the right and make a backward knot
(bk) like in
part 1. You will have a knot in the color of the outermost
string (which is now second from right).
[2] Take the next two strings (number 2 and 3 from the right) and make a bk which then should have the same color as the knot before.
Repeat for the next three string (until you reach the middle) and you have your first half of a chevron. It probably
looks not straight at all but that's normal. Just continue!
[3] Now take the first two threads from the left and make a forward knot (fk) like described above. You will see it's just like a bk but only that you work from left to right with this one.
[4] Continue with the fk up to the middle and finish the first chevron stripe by making a fk over the thread in the middle (which has the same color).
[5] Start from the right again and repeat steps 1,2,3 and 4, resulting in a second chevron stripe. Continue the chevron pattern.
You can make a whole friendship bracelet in this way. But if you want to know how to spice it up a little bit, keep reading!
Change of direction (downwards to upwards)
[1] For a turnaround start like normal with bk from the right but stop after three knots for the first color, two for the second and one for the third.
[2] Using fk go back to the right, making two knots with the second color (orange in my case) and three for the third color (red).
[3] Repeat step 1 and two for the left side. Always go right with fk and left with bk.
[4] Now take the innermost strings. With the left one go left with bk and with the right go right with fk. You have your first chevron in the opposite direction!
[5] Continue making chevrons starting in the middle with a knot (bk or fk) and continuing from the middle outwards with bk to the left and with fk to the right.
Change of direction (upwards to downwards)

[1] For a turnaround from upwards to downwards start like normal but only go three knots to the right and left with the first color (blue), two to each side with the second color (light blue) one with the third (orange) and do only the one knot in the middle for the forth (red).
[2] Now work inwards again. With the right orange thread to a bk to the left, with the left orange thread do two fk to the right.
[3] With the right light blue thread: two bk to the left. With the left light blue thread: three fk to the right.
[4] With the right blue thread: Three bk to the left. With the left blue thread: four fk to the right.
[5] With the next thread start following the normal chevron pattern instructions again (see above).
[6] To finish your bracelet, untie the knot at the top and braid both ends.
You can design your chevron bracelet as you like it and take as many turns as you like or no turn at all. The result looks quite amazing and much more difficult than it is. So don't be afraid of all the instructions. It's easier than it looks!
If you try it, please send me a link or a picture, I'd love to see your version of the chevron friendship bracelet!
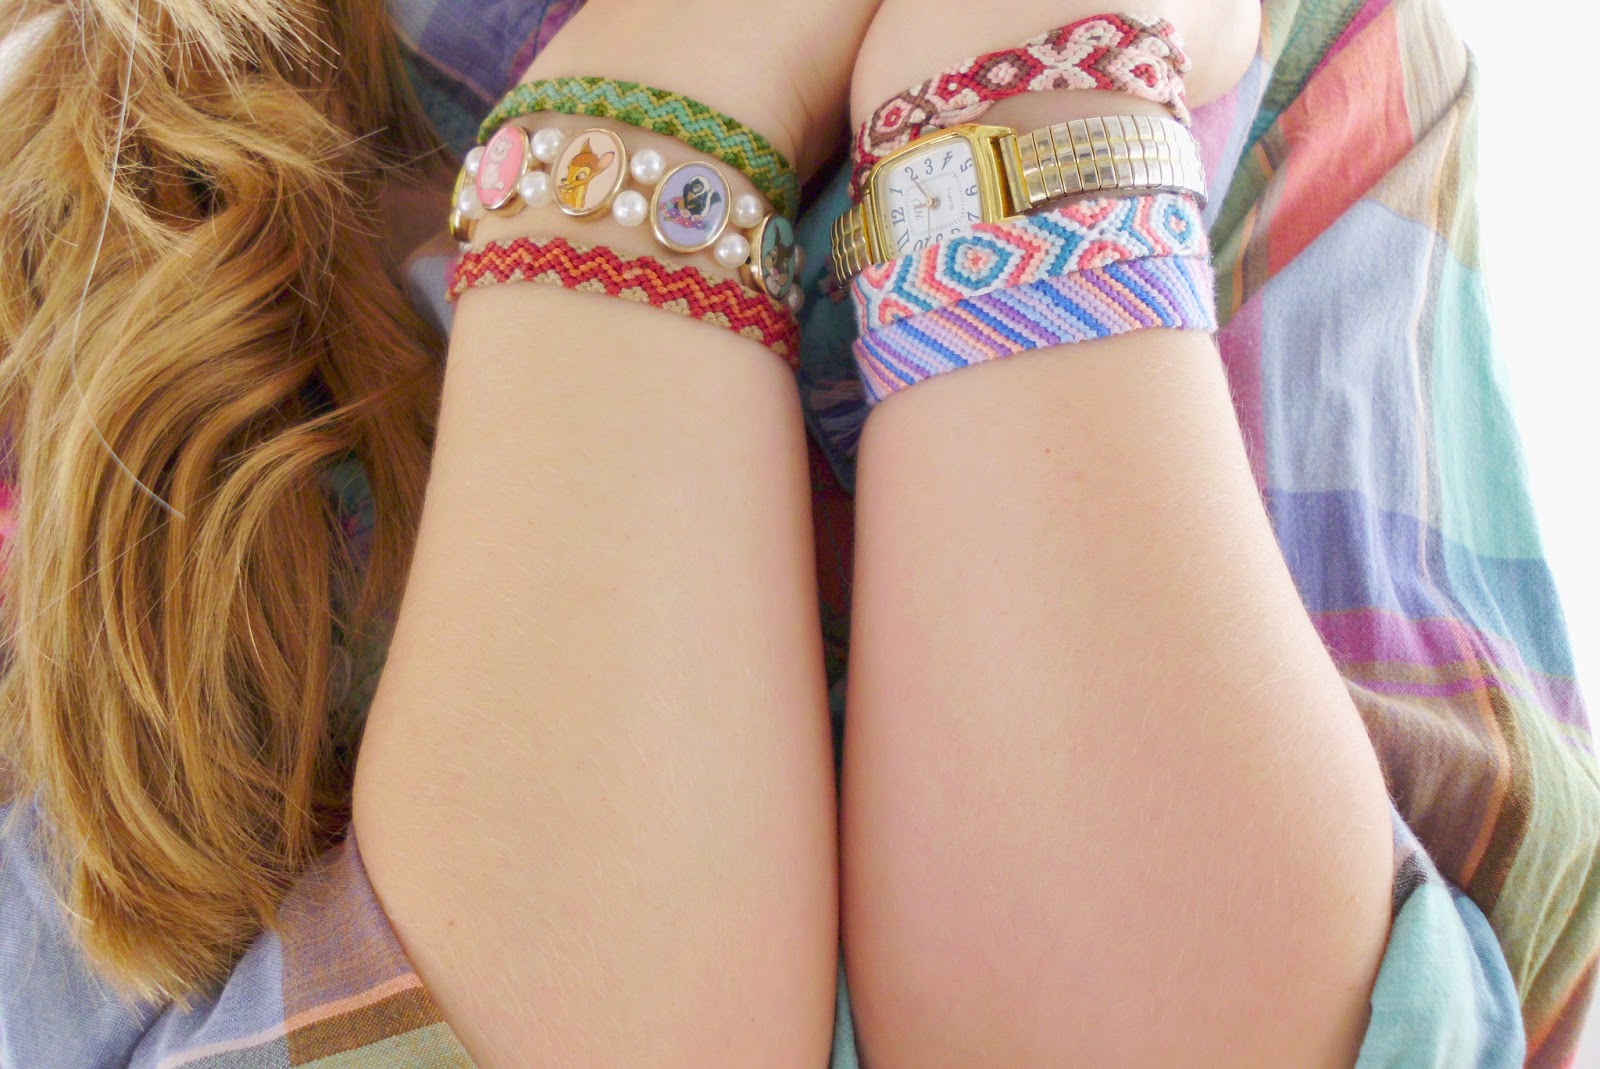
Edit: I got quite a lot questions about that Disney bracelet on the very first picture.
So for anyone who's interested in that: I bought that bracelet quite
some time ago at the H&M children's department. I couldn't resist :)


