For the backward knot and an even easier pattern for a friendship bracelet, check out part 1 of the friendship bracelet series!
The Forward Knot
[1] You start with two strings next to each other. The right string should be held tight all the time while you work with the other string (the working string).[2] Using the left string, form a loop over and around the right string. Pull the string through the loop from behind.
[3] Now hold the right string tight and pull the working string to the right. It is easier if you use your right hand for that. You now have something that looks like a tiny knot, but that's only the half of it.
[4] Repeat steps 2 and 3. Afterwards, there's a knot in the color of the string you worked with and the working string moved to the right.
Striped Friendship Bracelet
Material: Embroidery thread in different colors (I recommend this. Every color you can think of in one box!), Scissors.
Choose the colors you would like to have in your bracelet. For a symmetric chevron pattern his could be up to 5 different colors, as you have to have 10 strings of embroidery thread.
Then choose an ordering and place the threads next to each other like in the picture above. The color ordering is mirrored in the middle (1,2,3,4,5,5,4,3,2,1). The colors will appear from outer to inner. When you have an ordering, tie a knot at about 5 inches from the top. Tie the short end to a chair or a table or to anything that will resist some pulling. Reorder the strings.
[1] Take the first two threads from the right and make a backward knot (bk) like in part 1. You will have a knot in the color of the outermost string (which is now second from right).
[2] Take the next two strings (number 2 and 3 from the right) and make a bk which then should have the same color as the knot before. Repeat for the next three string (until you reach the middle) and you have your first half of a chevron. It probably looks not straight at all but that's normal. Just continue!
[3] Now take the first two threads from the left and make a forward knot (fk) like described above. You will see it's just like a bk but only that you work from left to right with this one.
[4] Continue with the fk up to the middle and finish the first chevron stripe by making a fk over the thread in the middle (which has the same color).
[5] Start from the right again and repeat steps 1,2,3 and 4, resulting in a second chevron stripe. Continue the chevron pattern.
You can make a whole friendship bracelet in this way. But if you want to know how to spice it up a little bit, keep reading!
Change of direction (downwards to upwards)

[2] Using fk go back to the right, making two knots with the second color (orange in my case) and three for the third color (red).
[3] Repeat step 1 and two for the left side. Always go right with fk and left with bk.
[4] Now take the innermost strings. With the left one go left with bk and with the right go right with fk. You have your first chevron in the opposite direction!
[5] Continue making chevrons starting in the middle with a knot (bk or fk) and continuing from the middle outwards with bk to the left and with fk to the right.
Change of direction (upwards to downwards)

[2] Now work inwards again. With the right orange thread to a bk to the left, with the left orange thread do two fk to the right.
[3] With the right light blue thread: two bk to the left. With the left light blue thread: three fk to the right.
[4] With the right blue thread: Three bk to the left. With the left blue thread: four fk to the right.
[5] With the next thread start following the normal chevron pattern instructions again (see above).
[6] To finish your bracelet, untie the knot at the top and braid both ends.
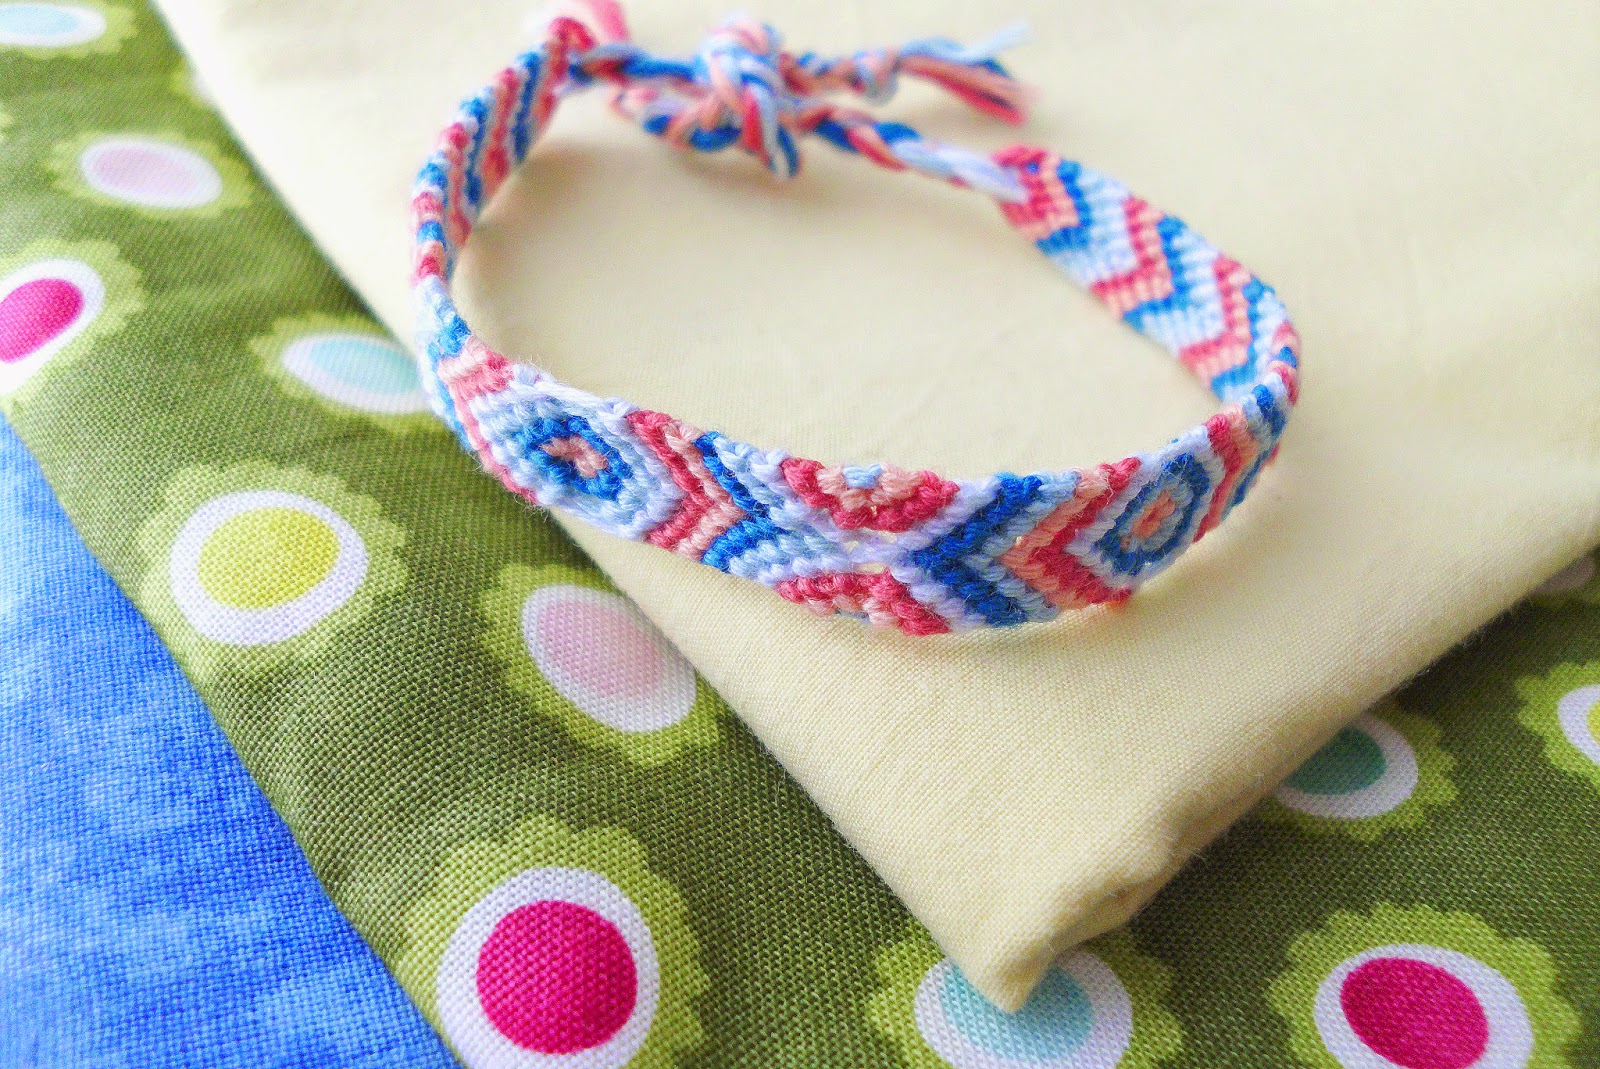
You can design your chevron bracelet as you like it and take as many turns as you like or no turn at all. The result looks quite amazing and much more difficult than it is. So don't be afraid of all the instructions. It's easier than it looks!
If you try it, please send me a link or a picture, I'd love to see your version of the chevron friendship bracelet!
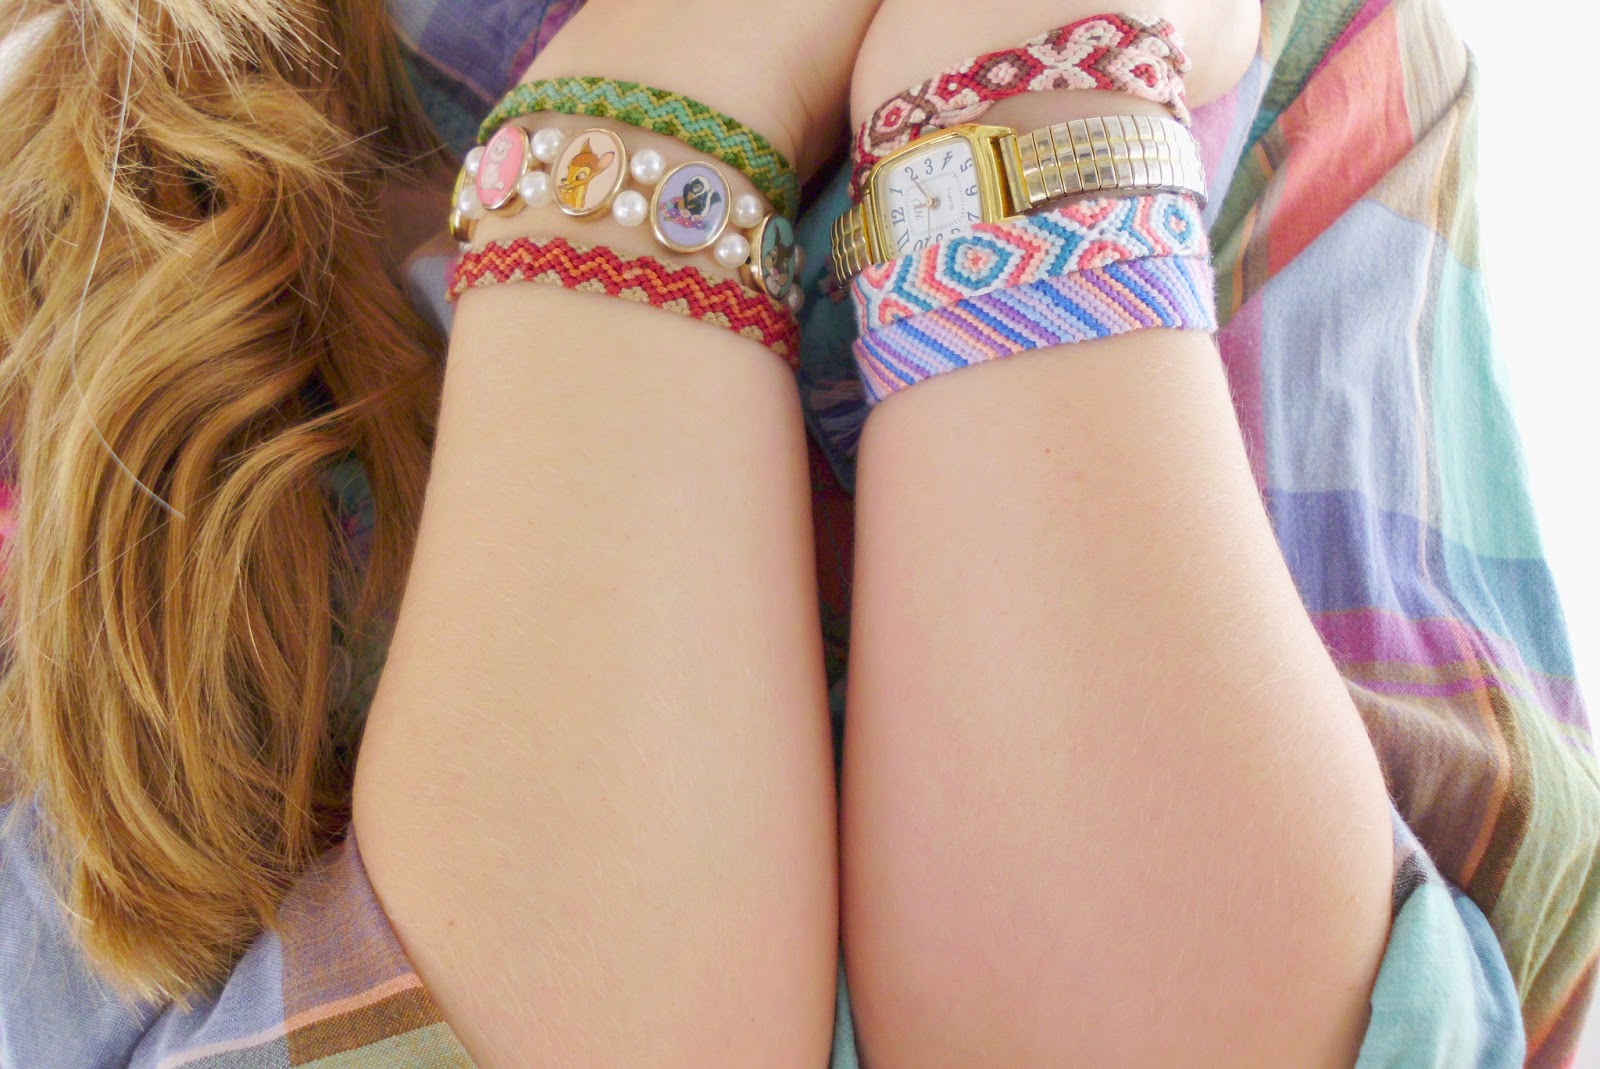
Edit: I got quite a lot questions about that Disney bracelet on the very first picture. So for anyone who's interested in that: I bought that bracelet quite some time ago at the H&M children's department. I couldn't resist :)

where did you get your disney bracelet from????
AntwortenLöschenI bought it some time ago at the H&M kids department. It's a little tight around my wrist but I love it anyways ;)
LöschenSuper cooler Blog!
AntwortenLöschenDas Armband (und auch alle anderen) sind super schön.
Den Grundknoten kann ich, denn ich knüpfe momentan die ganze Zeit das normale Pfeilmuster, aber dank deinem Tutorial kann ich jetzt auch mal ein etwas schwereres ausprobieren!
Liebste Grüße, Franzi Ska
What's the zig zag one?
AntwortenLöschenNice idea! I was only searching for embroidery thread tonight in my tin and thought what a mess it was. Some really fun designs with those bracelets. Did you use an online tutorial?
AntwortenLöschenAren't friendship bracelets the perfect way to get rid of leftover embroidery thread and make something amazing at the same time!? I learned to make friendship bracelets a long long time ago when I was a kid. I do own a book with some designs, but these two on the blog I made so often I know them by heart.
LöschenThis is a lot of fun! I read over the tutorial and immediately tried it out. I'm making my first one and I'm super proud of it! I did rainbow, and it looks gorgeous. Thank you so much for sharing this!
AntwortenLöschenThat's amazing! You mentioning 'rainbow' totally makes me want to make a rainbow bracelet, too... NOW. If there's another tutorial on here soon, you know why ;)
LöschenThe bracelets suits your wrist!!!
AntwortenLöschenSimple and loving..
Embossed Wristbandshelps the wearer to give out their message in a unique manner. The message is present in a raised format giving a pop-out impression. These wristbands are made up of silicone and thus are durable and comfortable to wear.
They are off trend now but I remember when they were introduced, everyone was crazy about them and wanted to have them. Thanks for sharing it with us.
AntwortenLöschenSuper cute! What length do you recommend for each colored string?
AntwortenLöschenThank you for Sharing this informative and useful blog.
AntwortenLöschenThe Handcrafted Designer Bracelets Online Shopping Offers Bracelets for Women. Shop Exclusive Collection of Designer Bracelets.
LSM99 เป็นเว็บไซต์ที่มีมาตรฐานในการให้บริการ LSM99ไม่โกงและมีความโปร่งใส ปลอดภัย ในทุกๆการเดิมพัน สามารถทดลองเล่นคาสิโนออนไลน์ได้จริงมีระบบอัตโนมัติพร้อมให้บริการตลอด 24 ชม.
AntwortenLöschenvery nice and beautiful thanks for sharing
AntwortenLöschenBracelets Pakistan
Bangles in Pakistan
görüntülü show
AntwortenLöschenücretlishow
0İEZ
Warum gelten russische Hochzeiten als besonders stimmungsvoll?
AntwortenLöschenEine russische Hochzeit ist besonders stimmungsvoll, weil Emotionen offen gezeigt werden. Lachen, Tanzen, Reden und gemeinsames Feiern stehen im Mittelpunkt. Der strukturierte Ablauf, die starke Rolle der Familie, die Unterhaltung durch den Tamada und die vielen Hochzeitsspiele schaffen eine einzigartige Atmosphäre, die Gäste nicht so schnell vergessen.
Löschen